First and foremost, I want to express my gratitude for choosing to purchase this template and for your continued loyalty as my customer. You're truly appreciated!
You are entitled to receive complimentary lifetime updates for this product, along with exceptional support directly from the author.
Basic tips and quick guide that will help you to edit this template.
To effectively use this template, a basic understanding of HTML, CSS and Javascript is necessary. Please conduct a quick Google search or visit W3Schools for any related queries, as addressing topic-specific issues is given top priority.
- Built with latest Angular
- Built with latest Bootstrap
- SASS
- CSS3 Animation
- W3C validated HTML5 & CSS3 coding
- 10 color skins options for Header, Sidebar & Player
- Light and Dark version
- RTL support
- Analytical dashboard
- Error page
- Working audio player
- Browser media API support
- Fully responsive
- Modern design
- Clean coded
- Google fonts
- Cross-browser compatible
- SEO optimized
- Mobile first CSS
- Easy to customize
- Well documented
- And more...
To customize this template, you will require the following software:
- You will need code editing software such as VS Code, Sublime Text, or Notepad.
- You will also need a web browser for testing purposes, such as Google Chrome or Mozilla Firefox.
- You will also need an FTP tool to upload files to the server, such as FileZilla.
Upon purchasing this template, you can access and download it through your account.
Step 1: Simply log in and click on the Download link to obtain the template.

Step 2: Upon reaching the download page, you will find a list of the items you have purchased.
Click on Download button > Click on All files & documentation

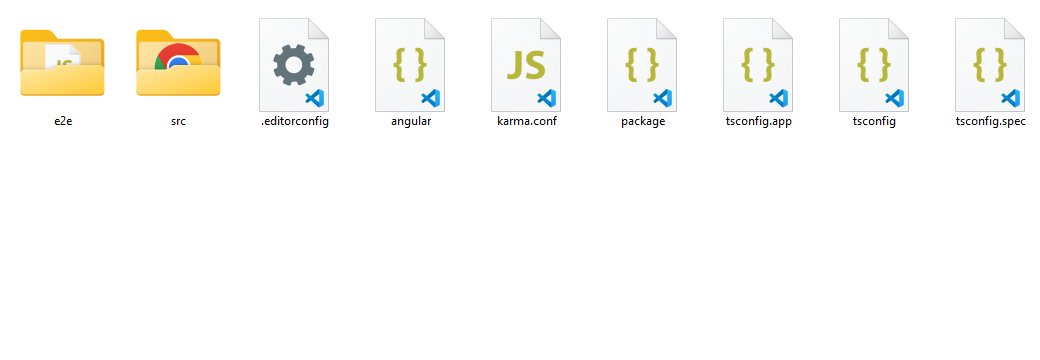
Once you download the template, you will receive All files and documentation in a ZIP file. In the root folder of the ZIP file, you can view the contents to see what you will receive.
The template is constructed using an advanced development toolset including Angular, Node.js, and SCSS, which automates arduous or time-consuming tasks within your development process.
Ensure that Node.js is installed on your system. You can download and install it from the official Node.js website.
Recommend Node 18 latest version.

Once Node.js is installed, you'll need to set up Angular on your system. Open Terminal/CMD in you system and execute the following command in your Terminal/CMD:
npm install -g @angular/cliOpen Terminal/CMD and execute the command: npm install. This will install the necessary dependencies for this template, including build tools such as SASS Compiler and Autoprefixer.
npm installAfter installing dependencies, start the development server by running ng serve command. This will launch the application locally, typically on port 4200 by default.
ng serveOnce the development server is running, you can start customizing the template according to your needs. Modify HTML pages, stylesheets (using SCSS), and integrate any additional functionality as required.
Please review the common structure of this template.
Below is the folder structure for this project. You can explore the project using these folders:
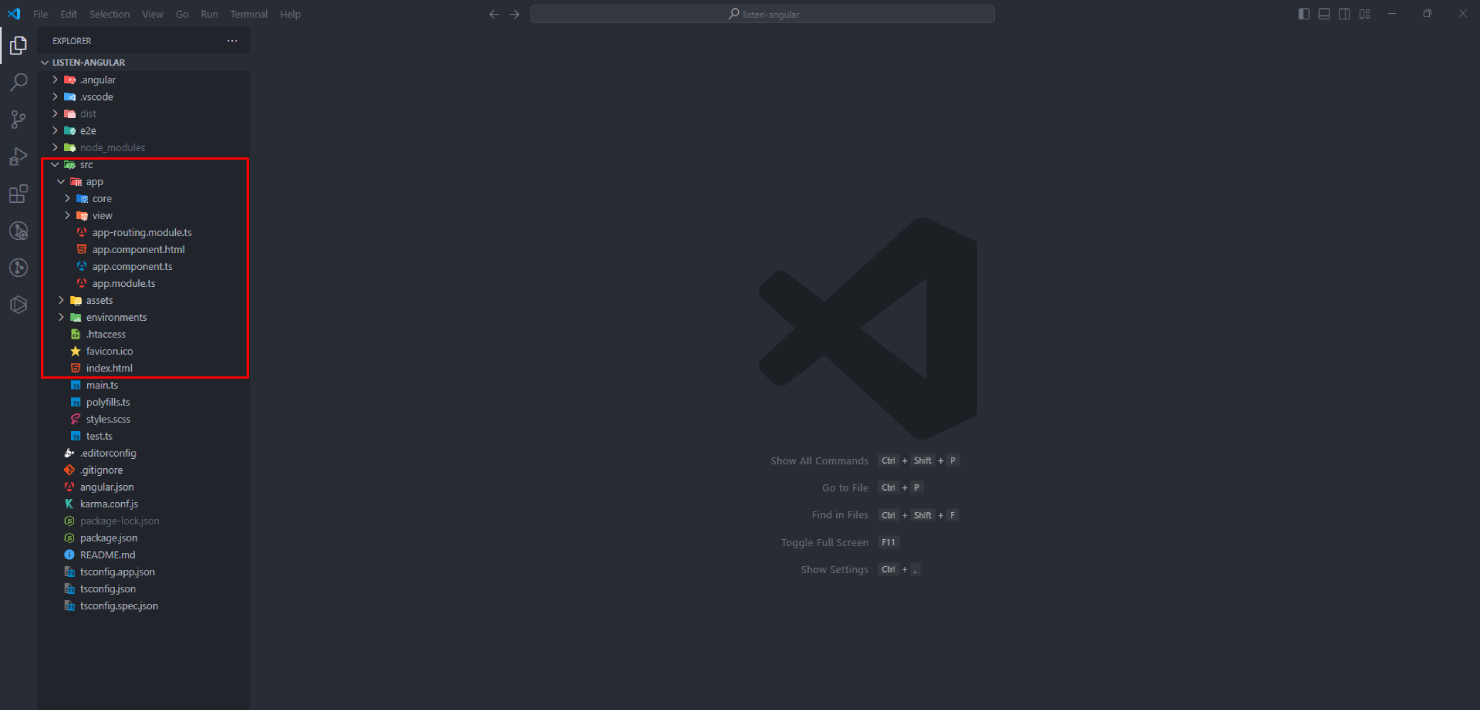
There are two primary folders located in the src/ directory: core/ and view/. Within core/, we encompass all core sources such as constants, services, directives, etc. On the other hand, view/ houses all pages and template layout components.
In the most influential directory of this template, you'll discover all the essential files such as constants, services, directives, and more.

| Folder name | File type | Description |
|---|---|---|
| constants | variables |
Within this folder, you'll find all the constant variables, including API URLs, error messages, HTTP status codes, and more. |
| directives | directives |
This folder encapsulates Angular directives. |
| local | ts |
This folder contains TypeScript files for modals that facilitate data conversion for both remote and local use. It serves as a valuable tool for communication between the frontend and backend components. |
| mock | json |
This folder contains fake data represented in JSON format, designed for viewing in the pages. |
| services | services |
This folder encompasses Angular services. |
| utils | ts |
This folder contains common and reusable functions. |
This folder houses Angular components representing the template views.

| Folder name | Description |
|---|---|
| layout | Consolidate all the primary layout components of the template. |
| pages | Aggregate all page components utilized prior to login. |
| partials | Gather all the reusable components within the template. |
| theme | Collect components utilized post-login. |
The template is constructed using the SCSS compiler, allowing for easy modification within your editor. The files are located as indicated in the provided screenshot.
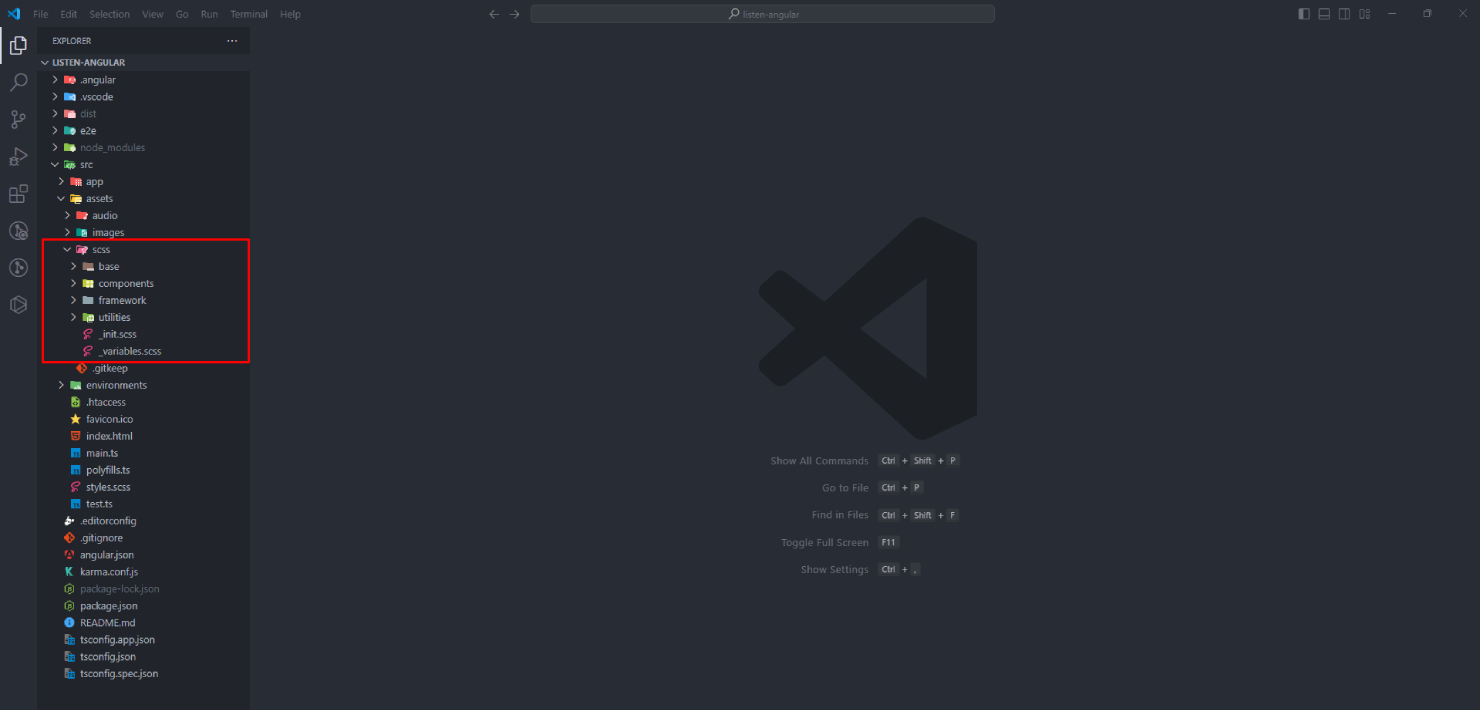
Bootstrap variables can be overridden in the _variables.scss file, enabling you to add or remove variables as needed.
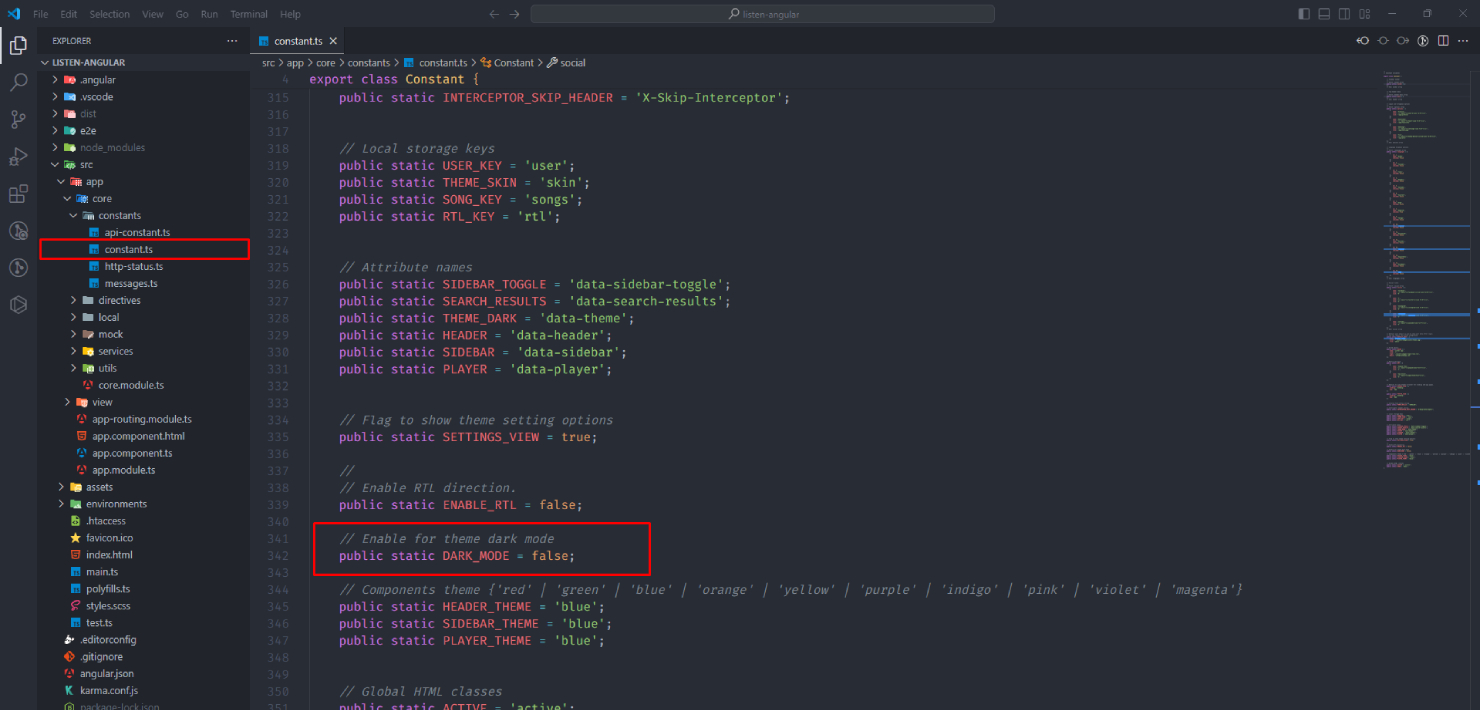
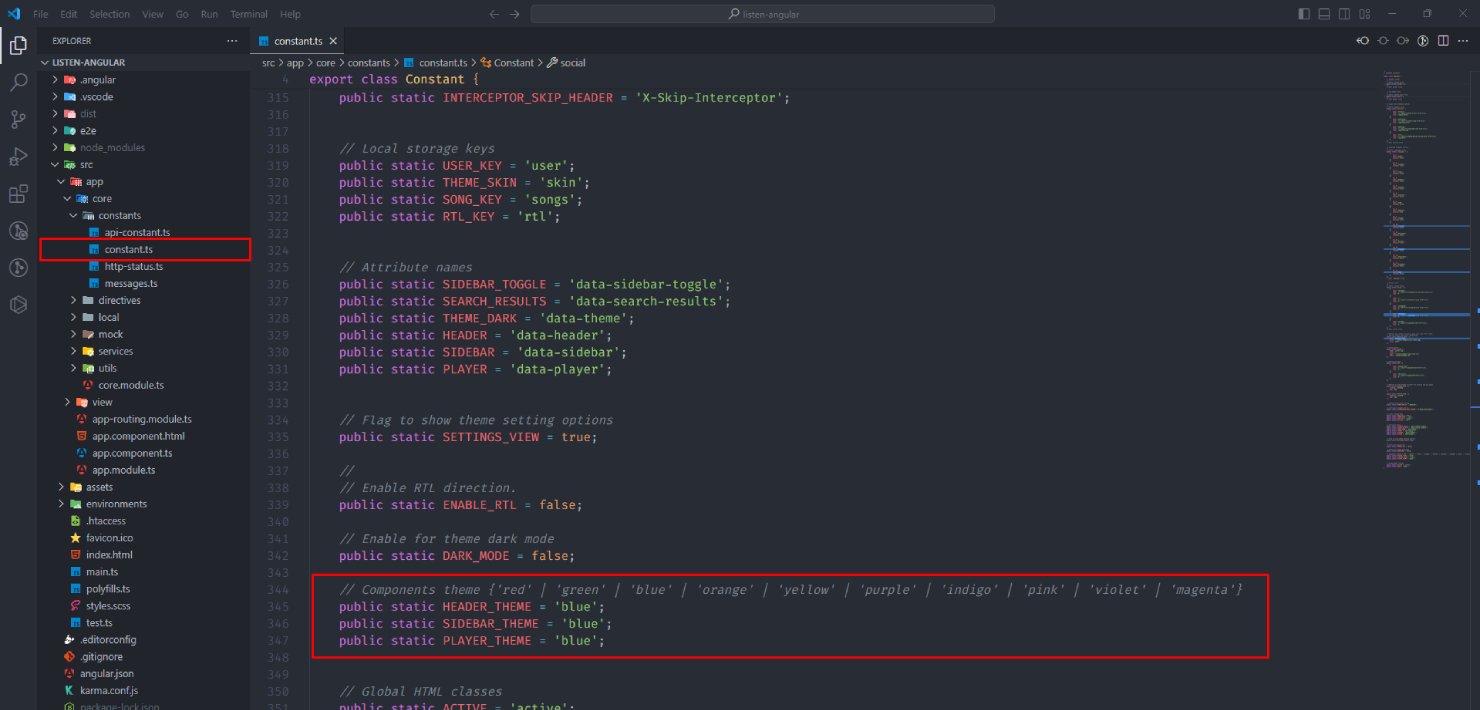
The template offers you the ability to modify both the template skins and text direction through the settings component location displayed in the provided screenshot.


If you choose not to use this feature, you can simply remove the component from the UI by disabling a flag in the constant file.
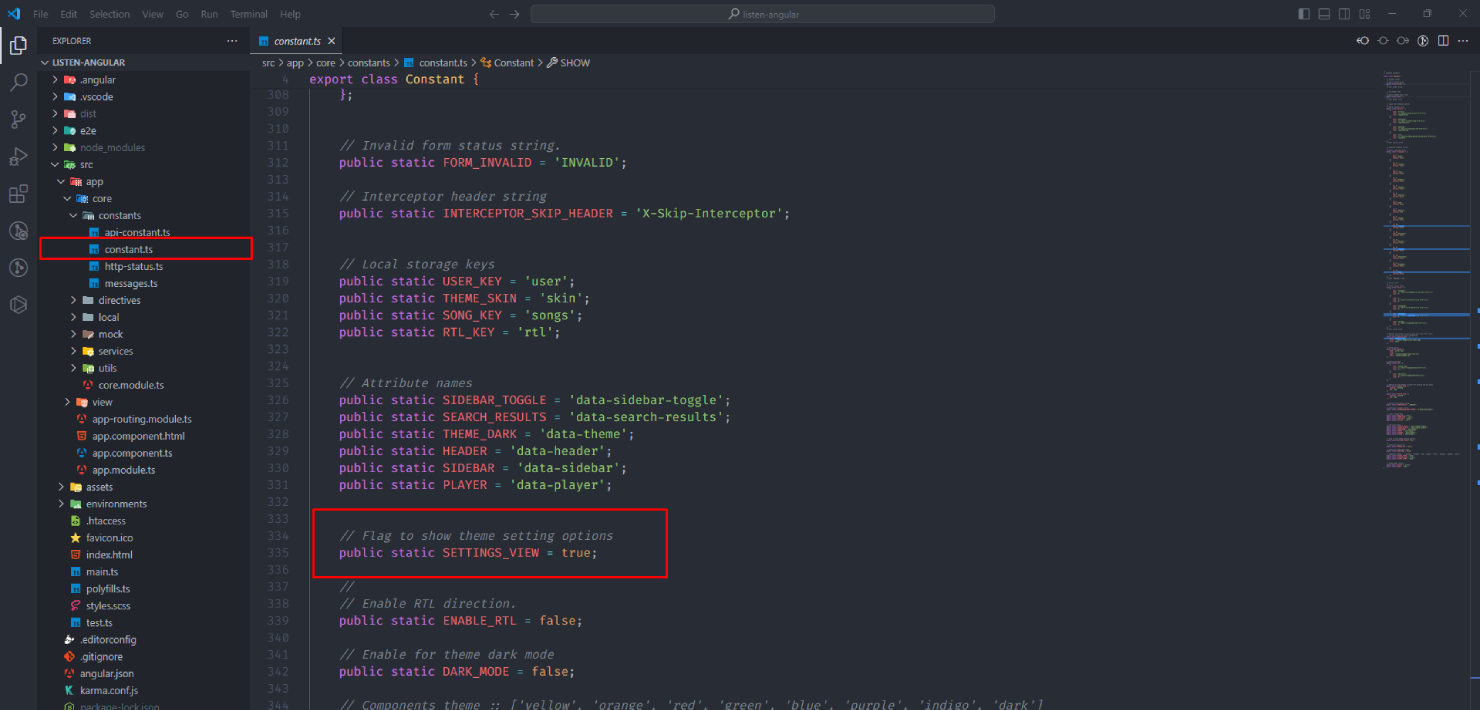
By modifying just one line of code, the entire template can switch to Dark mode, or it can also adapt based on the system settings, as demonstrated in the screenshot actions.
In just one simple change, you can switch the text direction from LTR to RTL as demonstrated in the screenshot actions.

The template features various skins for the Header, Sidebar, and Player, all of which are customizable, as demonstrated in the screenshot actions.
To create a deployable template, simply navigate to the template folder in your Terminal/CMD and execute the following command: ng build. This will generate a dist/ folder within your template directory.
ng buildOpen your FTP client, such as FileZilla, or directly access it through cPanel. Upload the contents of the template to your server's root directory. Once the files have finished uploading, navigate to www.yourdomain.com and enjoy :)
- Open FTP Client
- Connect server and upload template here
Here we are mention project change and new release of the version.
6.0.0Upgrade Angular version 17
5.0.0- RTL direction
- Changed old colors & added 2 more color options
Fixed button border issues
4.0.0- Upgrade Angular version 16
- Upgrade Swiper version 11
- Fixed dark mode issues
- Replace ngx-perfect-scrollbar with ngx-scrollbar
Browser media session API support
3.0.0Redesign template
2.0.0Upgrade version 11
1.0.1Fixed player play/pause button issue
1.0.0Initial Release
To request a refund, kindly review the article provided.
The article outlines cases in which refund requests will not be accepted.


Don't forget to rate!